For even more valuable tutorials, get the full eBook with Bonus material October CMS - Up and Running.
You’ve setup your first OctoberCMS site and now it’s time to put it online for world to see. In this guide you are going to learn the optimal setup to allow you to deploy your local version of October CMS to your production server without any problems.
Contents
- Prerequisites
- Structure Of Repository
- Verify Local
- Preparing The Server
- Database
- Production .env
- Deploy
- Verify Front End
- Permissions
- Configure Auto Deploy
- Other Deployment Options
- Deploy October CMS From Localhost To Production Conclusion
- Next Up
Prerequisites
Hosting
We're going to assume you have hosting with a decent cPanel. If not we recommend Digital Ocean. Sign up through this referral link and you'll get $10 free credit.
Server Configuration
We’ll assume your server is configured to handle connections, nginx is running and routing requests to the correct folder. If not, we recommend recommend Laravel Forge to create and configure your server with a few clicks.
DNS
We’ll assume you have a domain setup mapping to your server IP address. If not, we use Route 53 to manage DNS because it updates quickest of all the services we’ve tried.
Structure Of Repository
In Part 1 of our guide we showed you How To Setup October Locally. To get the most out of this tutorial have a read of that and ensure your project structure is as close as possible, preferably identical. If you’ve already done that part you should have a folder structure that looks like this:
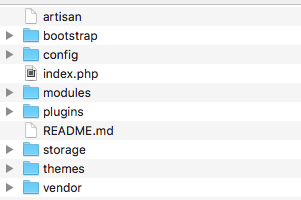
Once you’re confident your structure is the same as ours and .env is not part of the repo, we can move on.
Verify Local
It sounds simple but check that your local site is running, you can hit the front end, no console errors are thrown and nothing in the error logs.
Preparing The Server
One of the prerequisites was that you have hosting and a server configured to handle connections. However we still want to ensure that things are setup for a clean deployment. FTP into your server with your favorite FTP program. We use Filezilla. Navigate to the site root and delete all files and folders within. We want to clear out everything so make sure you get any hidden files that start with a . like the .env file mentioned above.
Database
Your code will need a database on the server to communicate with so connect to your production or database server and and create the database.
In part one of our series we just create the database and then run the October Installation script which generates the internal structure and tables. This time, we won’t be running the install script on production but still need its structure in place for when the code is deployed.
There are two options depending on whether you want a blank database on production or your local db contains some information you'd like to go live.
1) Blank Database
- Create Database
Connect to the server with SequelPro or any DB client.
Create a new database. Give it the same name as your local db
Alernatively, this can be done by ssh'ing into the server on the command line:
- Connect to the server via terminal or Secure CRT
- cd to the site folder
- run:
php artisan october:upThis will create an empty database on production.
2) Retain local database content
The other option is to export your local content onto production. To do this we need to copy the local database file onto production.
- Export local
Open your local database in sequel pro or whatever DB software you prefer. Go to File > Export > and choose a location to store the dump.
- Import Into Production
Now connect to your production database and go to FIle > Import then select the dump you just exported. Refresh and you should see all the the local data in the production database.
Production .env
The DB is setup and we’re almost ready to deploy the code but first we need to create our production environment settings. If you are using Laravel Forge this is very simple as forge has the Site > Environment settings panel to add these. This means we don’t even have to manually put a .env on the server and it’s all handled and created for us within the Forge GUI.
If for any reason your not using Forge, manually create an .env file on your local machine anywhere that is NOT your local repo as you don’t want to override that. Paste in the values for production including the database host, username and password. Then push this to the server via FTP.
Deploy
Preparation is done so now we can deploy the OctoberCMS From Our Local To Production.
Instead of pushing files up with an FTP program, GUIs make this a lot simpler and our favorite is an auto deploy tool called DeployHQ.
This is an external service which receives a webhook every time you commit and pushes the most recent changes onto the server. We like this because it’s much faster as it only deploys the files that have changed so you don’t have to upload your entire repo every time.
Additionally, it fires on every commit so essentially you have one click deployments as soon as you commit. This speeds up your releases and never again will you have that problem where one file failed to update and everything gets broken as a result.
Sign Up
They offer a free trial so you can test the service before committing.
Setup
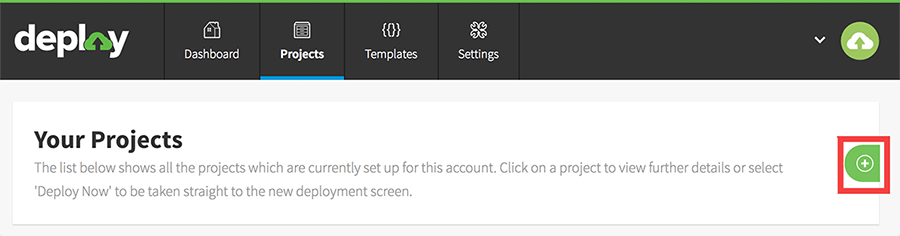
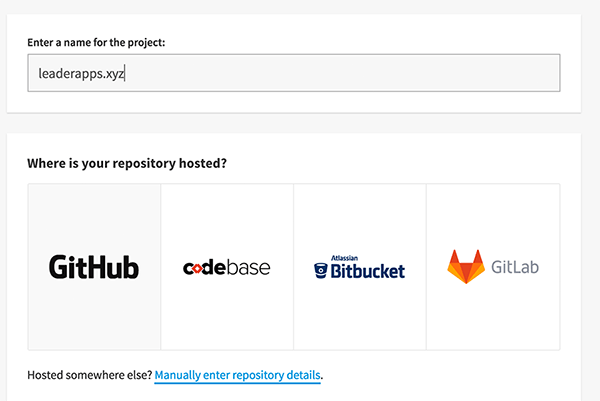
Once you have a test account, login and go to projects then click the + icon on the right side to create a new project,
Call it something appropriate and choose the correct code hosting service for your code.
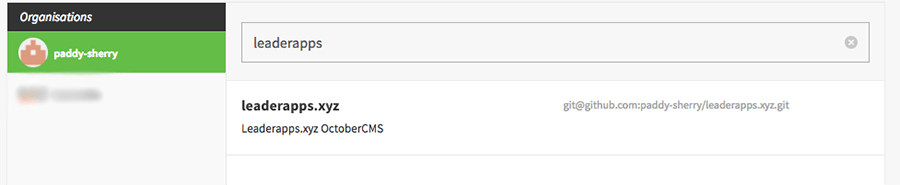
You will then see a list of all repositories you have access to. One flaw here is that all repositories are listed together so if you are a member of some for your day job they will be displayed alongside your own freelance repos. Ensure that you select the correct one!
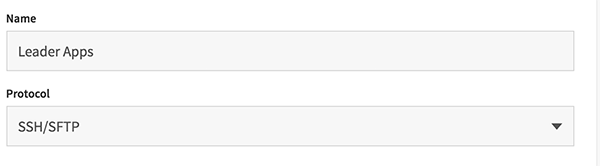
Once the repository is selected we will add the details of the server that the code will be deployed to. Give it a name and select the connection method.
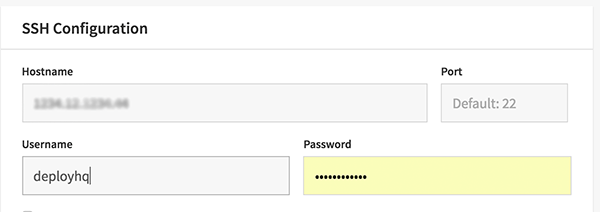
In the SSH Configuration section paste the IP of your server in the SSH Hostname field.
Underneath, add the the username and password of the user you want to connect with. We suggest creating a specific DeployHQ user instead of the root user.
The deployment path will be the directory on the server where you want the code to be pushed to. Notice that we start with a leading forward slash.

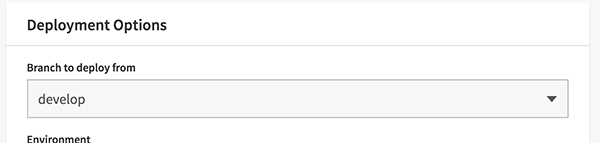
In the deployment options choose the branch you want to deploy from. We use gitflow so we have master, develop and feature branches. The dropdown will be populated with the branches from your repo.
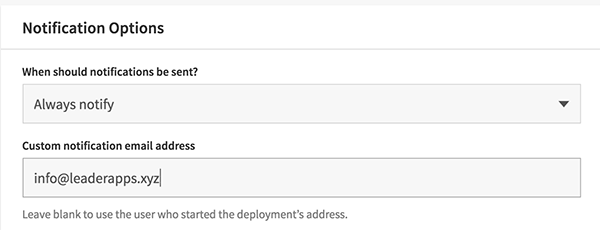
In the Notification Option section, select Always Notifyso you get emailed about everything. This can be changed later to filter out the noise if it’s becoming irritating.
Scroll to the bottom and click save.
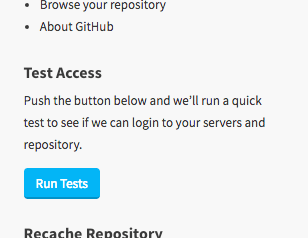
Now go to Settings > General Settings and click the Run Tests button in the right column. This will test the connection with the server based on the credentials you’ve supplied. You will see a success message If everything is ok and that means it’s deploy time!
Deploy The Code
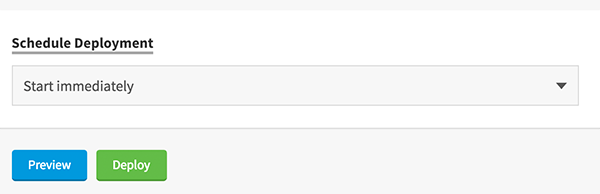
Scroll the top of the page and click theDeploy Now button

The default options are usually fine so scroll to the bottom and click Deploy
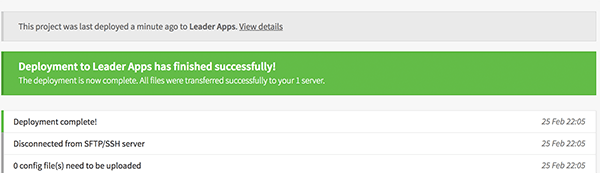
The deployment log will then start outputting messages. Once complete, you get the deploy success screen
Verify Front End
The moment of truth has arrived and it’s time to check the front end. Hit your site URL in a browser and if you followed this detailed tutorial correctly you will see your front end live on a production server.
Permissions
The default permissions may give some problems so we need to change a few of them. Switch back to terminal or SequelPro and cd into the site root again. Run
sudo chmod -R 775 storage/sudo chmod -R 775 themessudo chmod -R 775 storage/app/uploadsThis allows October to write to the folders it needs.
Configure Auto Deploy
DeployHQ
The October CMS site has now been deployed from local to production. You can continue with manual deployments triggered by the button in the DeployHQ backend or you can automate this away with a post deploy web hook.
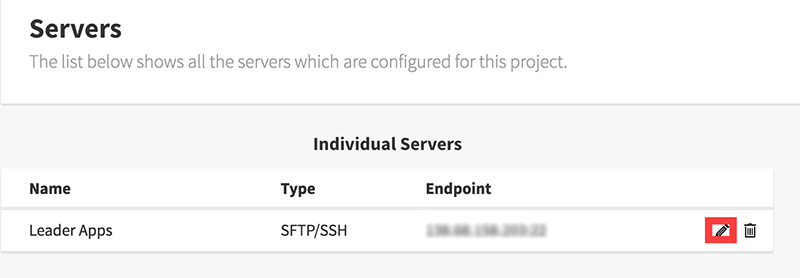
In the secondary nav go to Settings >Servers and Groups where you will see the server. Click the pencil icon to edit it as highlighted in red below.
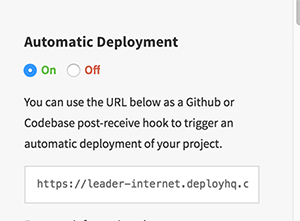
Check the ON radio field and then copy the url underneath to the clipboard:
Github
At this point you have to make GitHub aware of what to do when a commit is pushed. Log in and open the correct repository.
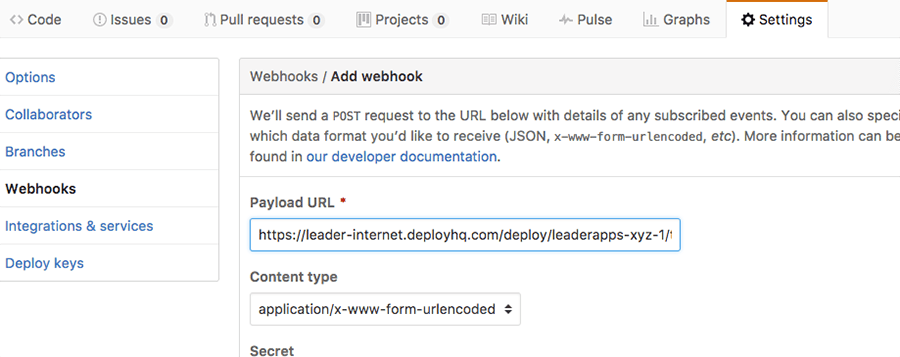
Go to Settings > Webhooks > Add Webhook.
Paste the url from the clipboard into the payload field. The Content Type can be left as application/x-www-form-urlencoded. Check ‘Just the Push Event’ then click the large Add Webhook button.
We should be good here so you can make a test commit to your repo and github will dispatch a webhook that notifies DeployHQ so they know it’s time to deploy the code.
In the DeployHQ notification options you selected everything so you will receive an email detailing the status of the deployment.
Other Deployment Options
DeployHQ is our favored approach but it would be biased not to discuss the other options:
Forge
Forge users will say “Forge already has an auto deploy feature. Why would I pay for another one?”
That’s a question we had once as well and our answers for this are explained in our blog post on using Using October With Forge.
Manual Script
There are plenty of scripts that you can run which manually push your files up to the server but you have to remember to do this every time.
FTP
You can do this with Filezilla or any FTP program and manually push the files onto the server. We don’t like this approach as it’s easy to make a mistake and takes a really long time.
Deploy October CMS From Localhost To Production Conclusion
You learned how to deploy October CMS from Local To Production in the most efficient way possible. When you commit local changes, DeployHQ will catch it and push these updates onto the server.
Your site is now live for the world to see. Once you submit to the search engines the spiders will index your pages and if your content is good, traffic will come.
Next Up
The default install of October is not very attractive and won't help you stand out from the crowd. In our next article you will learn how to apply a different theme, install a plugin from the official store directory and customise October CMS to suit your goals.
Saquib Rizwan 03.12.2018
I would recommend deploying OctoberCMS application with Offical OctoberCMS hosting partner Cloudways. You will get everything pre-installed. Try it for free.