For even more valuable tutorials, get the full eBook with Bonus material October CMS - Up and Running.
It is a wonderful tool but Installing October CMS can be difficult. This guide explains a quick and easy method.
Contents
The Problem
Maintaining a local environment sometimes feel like spinning plates. You get the site serving and build good stuff but the next day a white screen and log full of errors greets you when you open the laptop. Typically a developer will start with MAMP but that will go wrong so they move on to Vagrant. Things are fine until one day your regular gulp or grunt command no longer works and you realize that the promise Vagrant up was a lie and it's more difficult to preview your homepage than Vagrant suggests.
Laravel enthusiasts will be more familiar with Homestead and it's pretty good but after yet another 2am hosts file change most will decide that enough is enough and just push the change to test live on the production server.
We've all been there.
Install October CMS on Localhost Explained

Laravel Valet is a local environment for Mac developed by Laravel's creator, Taylor Otwell. It makes things incredibly simple.
How?
- 10 minute setup
- No more hosts file changes
- No more playing around with nginx.conf server blocks
- No more starting and stopping local environments
- Fast
- Share your local site with other devs
In short, It just works. So head on over to the Laravel docs for quick instructions on installing.
Parking
Once that's done you just need to pick which folder on your computer will be your root. For example if I wanted export/www to be my root I would open terminal and type:
cd export/wwwOnce inside run:
valet parkViewing a local site is now simple. I have a folder called my-first-site:
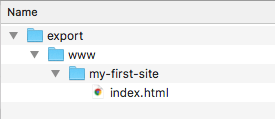
All I need to do is take the folder name and append .dev in the browser:

So our machine is now setup to serve local sites quickly. We didn't have to add hosts file entries or mess around with nginx.conf.
Install October
At this point we can proceed and install October CMS on Localhost by downloading it here.
Unzip the package and copy the install-master folder into your local machine site root where you ran the valet park command. In our case export/www.
Rename the folder to whatever you want your site to be. To make this guide authentic and more than just a hello world tutorial, we are going to build a real site so you can see the end result for yourself. It will be called leaderapps.xyz and our local folder will be named leaderapps:

Then switch over to your browser and type the folder name with .dev and followed by /install.php just like the screenshot below:
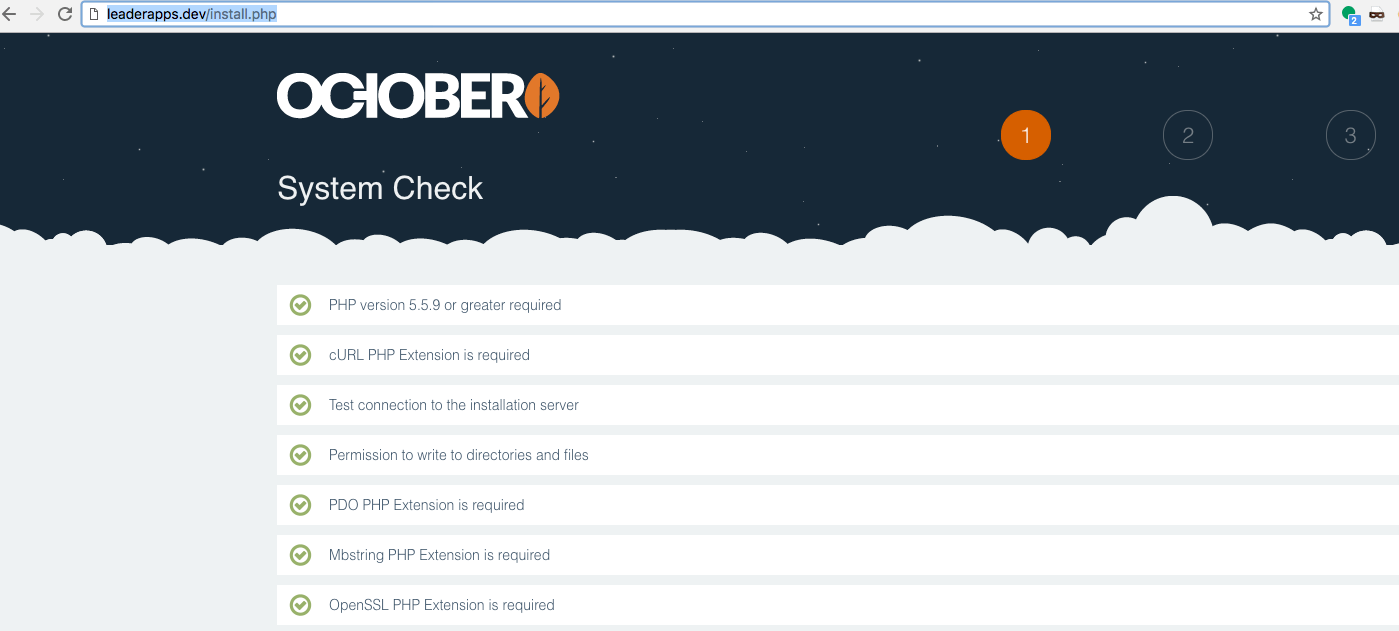
October will then run the preinstall checks to see if your system meets all the requirements.
Scroll to the bottom and click Agree & Continue.
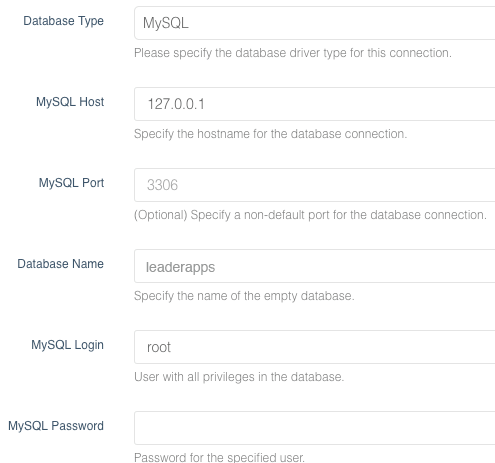
After this we come to the database panel where we can configure the connections. Copy what you see in the screenshot below replacing leaderapps with your DB name, then click the Administrator > button.
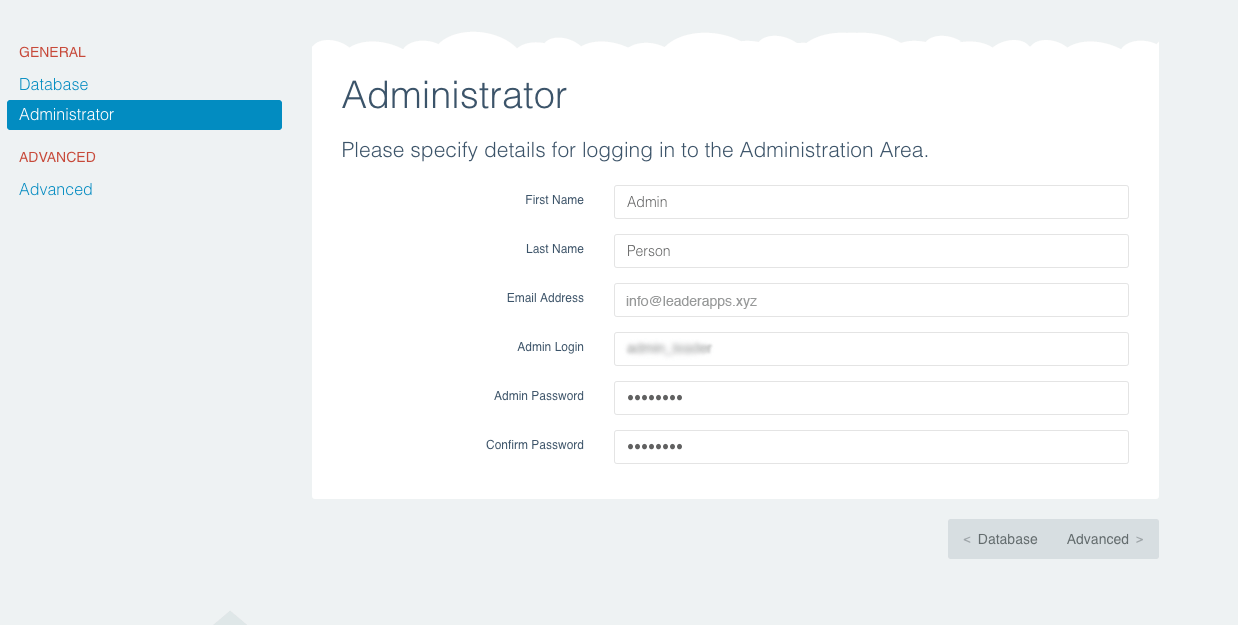
Now you can choose the account that will be used to log in to the backend of the site. Once you've set your details, click Advanced >
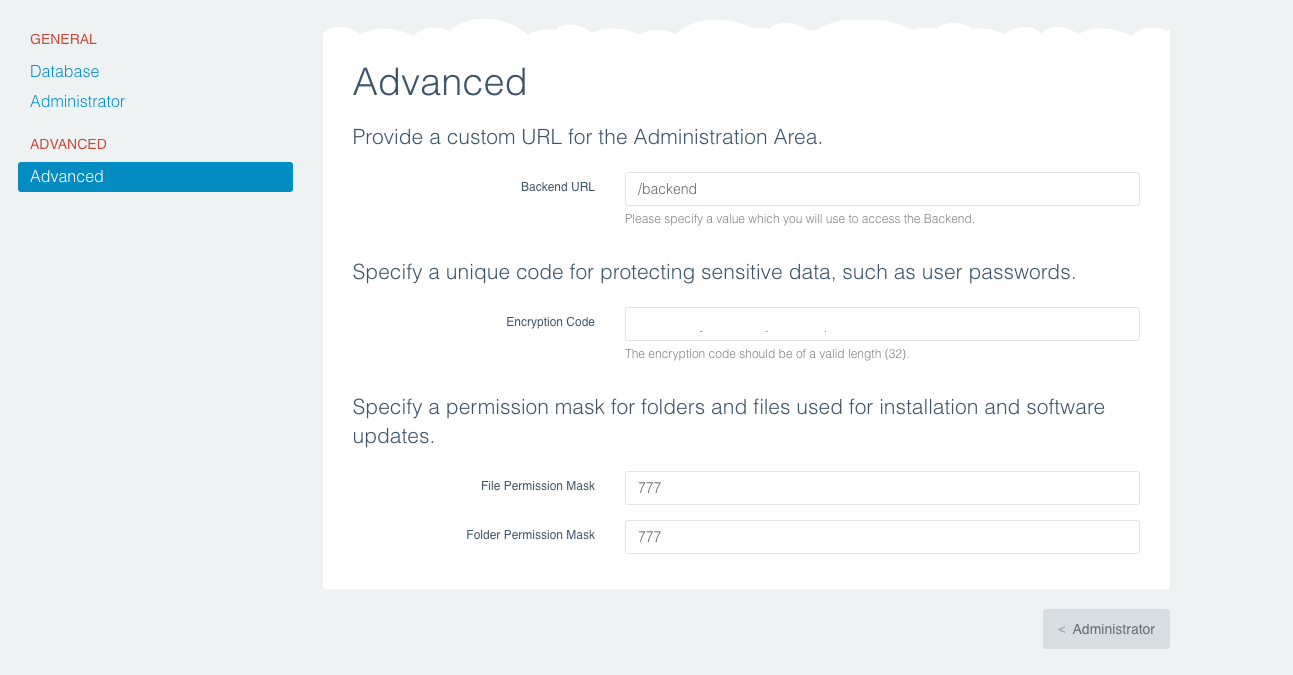
On the advanced screen you can just accept the default options without changing anything
Database
Before we finalise the installation we need a database for the code to communicate with so go ahead and set one up on your local machine. We will do this in Sequel Pro but feel free to use any program you want.
Once in Sequel Pro, create a new server connection named valet. All of the databases you create on your localhost will be accessible by connecting to valet from this point onwards.
The connection details are as you see below. Note that there is no need for a password so it can be left blank:
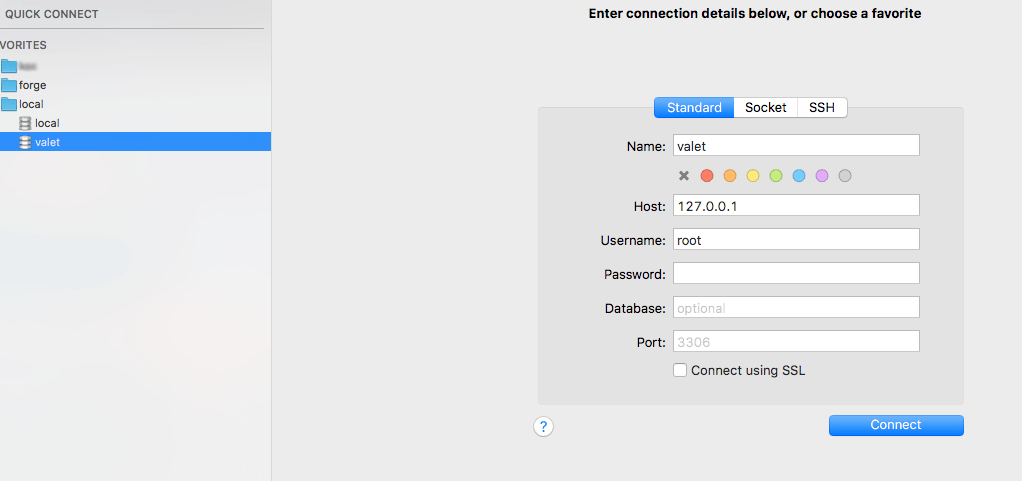
Click connect and the connection will open.
Now we need to create the actual database. We're going to call it leaderapps, exactly as you saw in the database panel when setting up october.
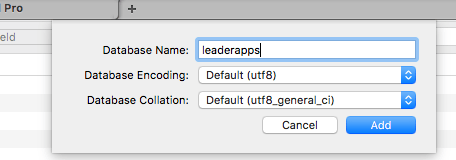
Once created go back to the October installation panel in your browser, scroll to the bottom and click continue

Theme
You can then choose the theme you want installed. It's easiest to choose Start from scratch as a theme can be applied later:
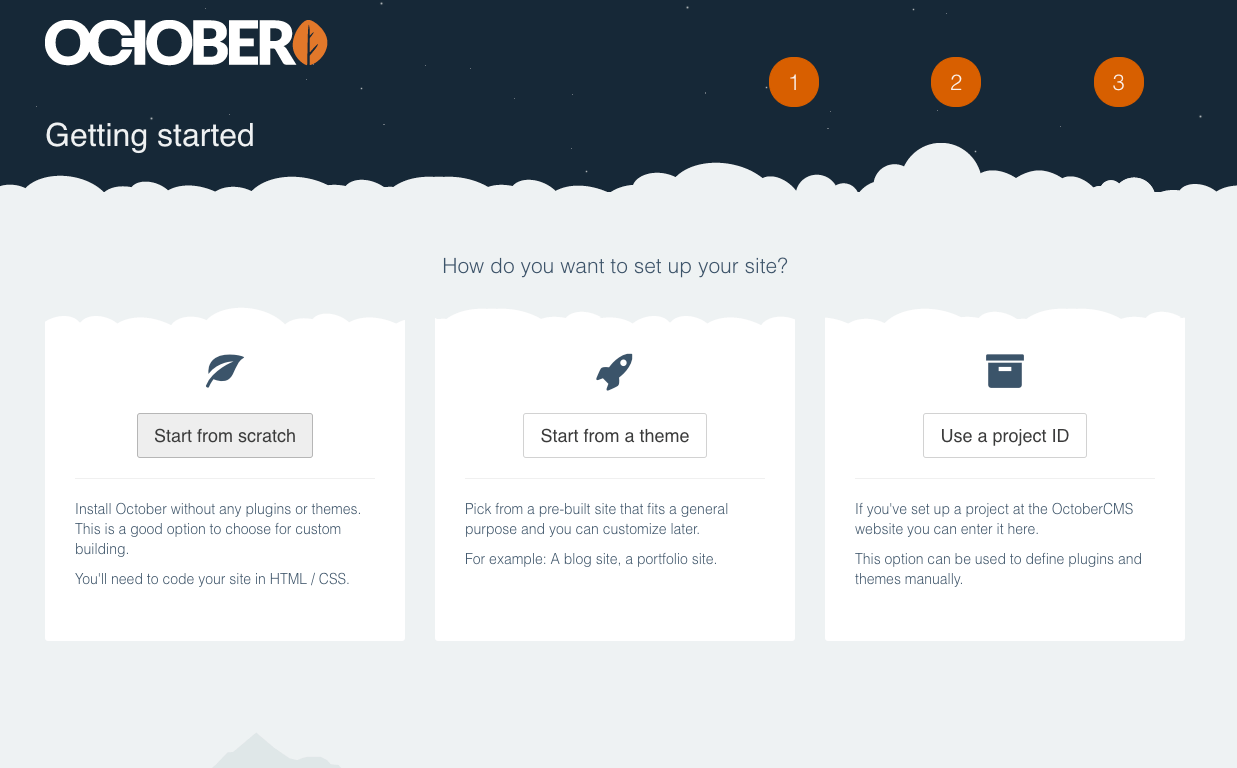
Watch the progress bar load for about a minute and then you will see your beautiful new backend!
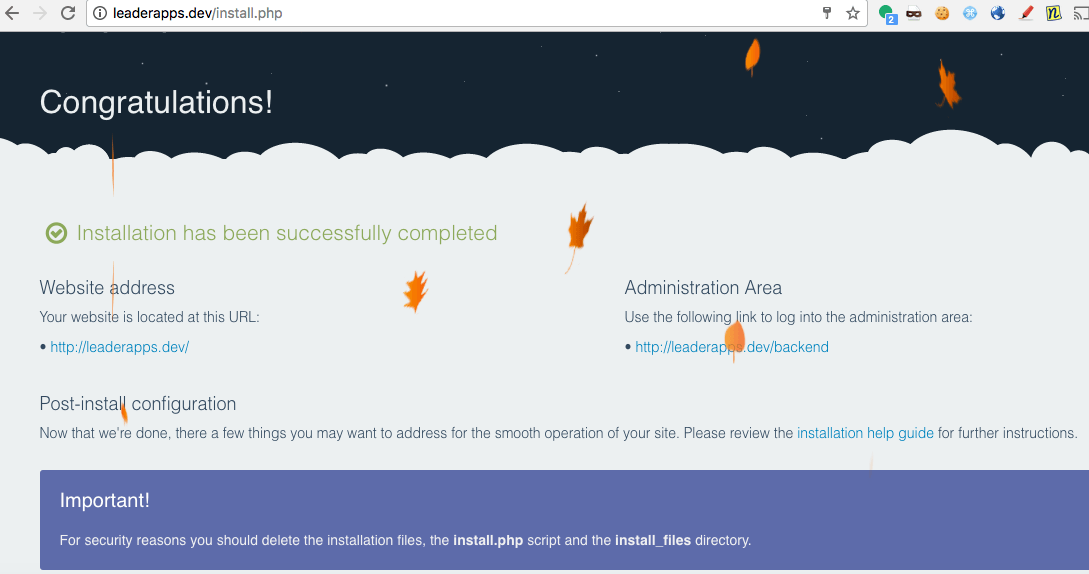
Delete Installation dir
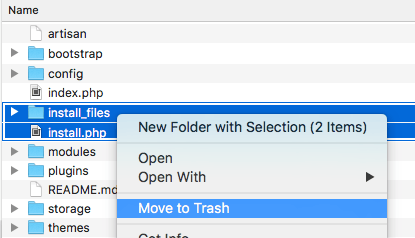
It's very important to do what October tells us and delete the installation files at this point. Go to your site root and delete install.php and install_files.
The Final Product
Now you can go to your site in the browser and you will see the homepage.
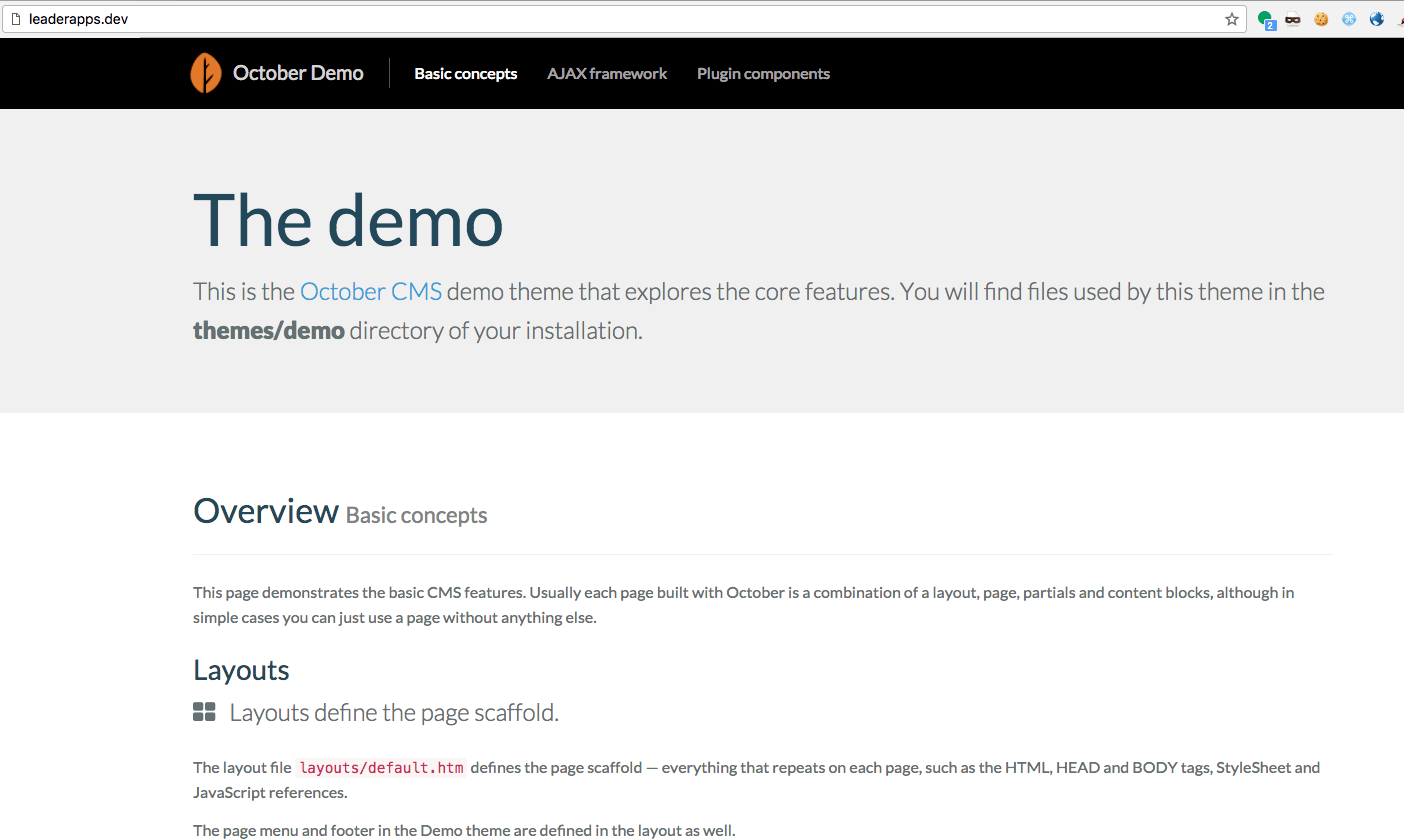
Well Done!
To log in to the backend just add /backend to the url:
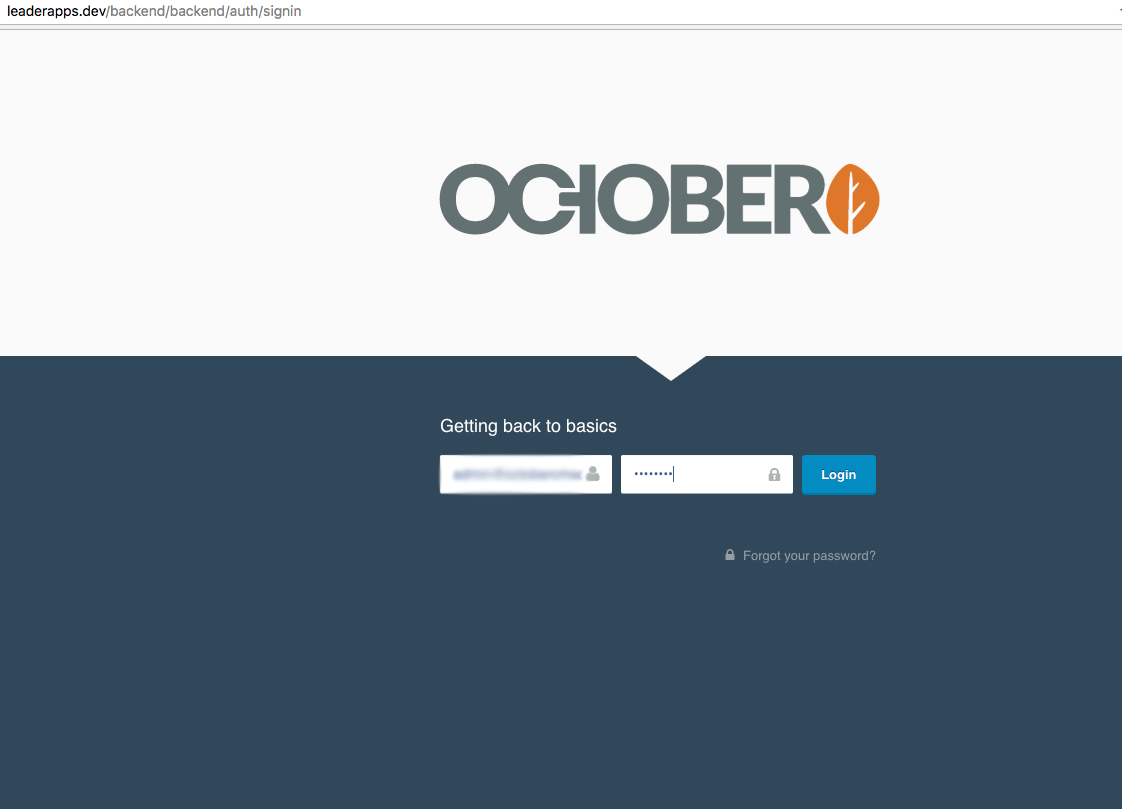
Tidy up
Before we commit everything we need to tidy up the repository so it's in the best state for ongoing development.
Move Configs to .env
Our configuration values are hardcoded in the app/config/ files. While this is fine for development, it will cause problems when we want to deploy to production and use different values.
October gives you an easy way to extract these configs out into a .env file.
cd into your project root and run
php artisan october:envThis creates a .env file in the project root with all the configs copied into it.
.env should not be committed to your repo. Make sure .env is added to the .gitignore file
.env files are environment specific so the settings for your local will not work on production.
This shouldn’t be committed because it exposes your database username and password so if your project is on GitHub and happens to be made public, the details to access your system will be exposed to attackers.
Vendor and Storage folders
Opinion varies wildly on this topic but after building lots of sites we’ve found that committing the vendor folder works for us. This will bloat the size of your repo as all the packages will be stored on your local but it’s a matter of preference.
We choose to run composer update locally and store vendor files in the repo because running it on the production server can be catastrophic if the command doesn’t complete or downloads a breaking change. When you store the vendor files in your repo and run composer update from your local machine you can catch any breaking updates before they make it onto production.
Ignoring the Storage folder is advised but we haven’t found any problems from not ignoring it.
Once you've added the .env file to your gitignore you should commit everything.
Conclusion
In this article we setup Valet and Intalled October CMS locally in a matter of minutes. Not only do we have a local site to develop with, we also have a very easy way to quickly set up local domains that are not even October CMS. Just put them in export/www and hit the folder name in the browser followed by .dev.
Remember all those times you saw a good tutorial or a nice code snippet but it was taking forever to set up a local domain? Well now you can simply download the tutorial code and paste the folder into export/www. Valet alone will speed up your development time exponentially. When you couple that with the power of October CMS, you have a formidable and reliable local environment from which to build the next big thing.
Next Up
In part two of our series on How To Build A Site With OcteberCMS, we will show you how to deploy October to production for the first time.
Conor 07.31.2017
This saved me a huge amount of time setting up October CMS on my local. I hadn't heard of Valet until now. Thanks for putting this together.
S. 11.07.2017
This is wonderful, everything went smoothly, thank you so much
bhargav 03.30.2018
I installed October cms,but it is affecting to other projects also, when I open other project folder that is not a October cms project,that project also redirecting to October cms first page.how to uninstall October cms from my localhost,or is there any ways to fix this